


LATEST STORIES
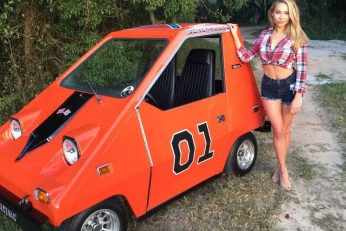
From mainstream models to outrageous concepts, we present 9 of the most...

In recent years, video games have increasingly focused on storytelling as an...

In the world of Counter Strike 2, players often seek out the...
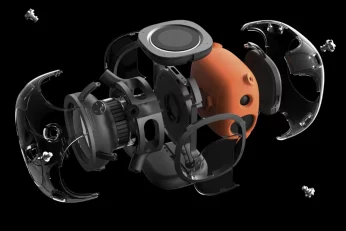
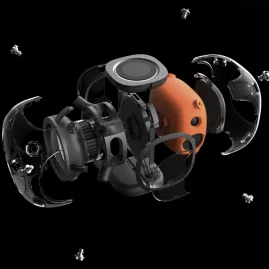
BoltBolt introduces the ‘Nebula,’ a groundbreaking Bluetooth speaker that harnesses NASA-developed ferrofluid...
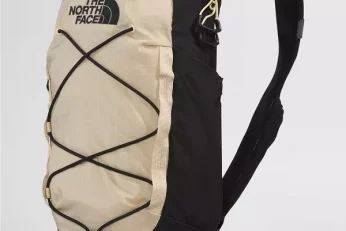
I have had my fair share of experiences with sling bags, and...